
Hair oil: how to add shine and softness without weighing hair down
Thursday 22nd October 2026
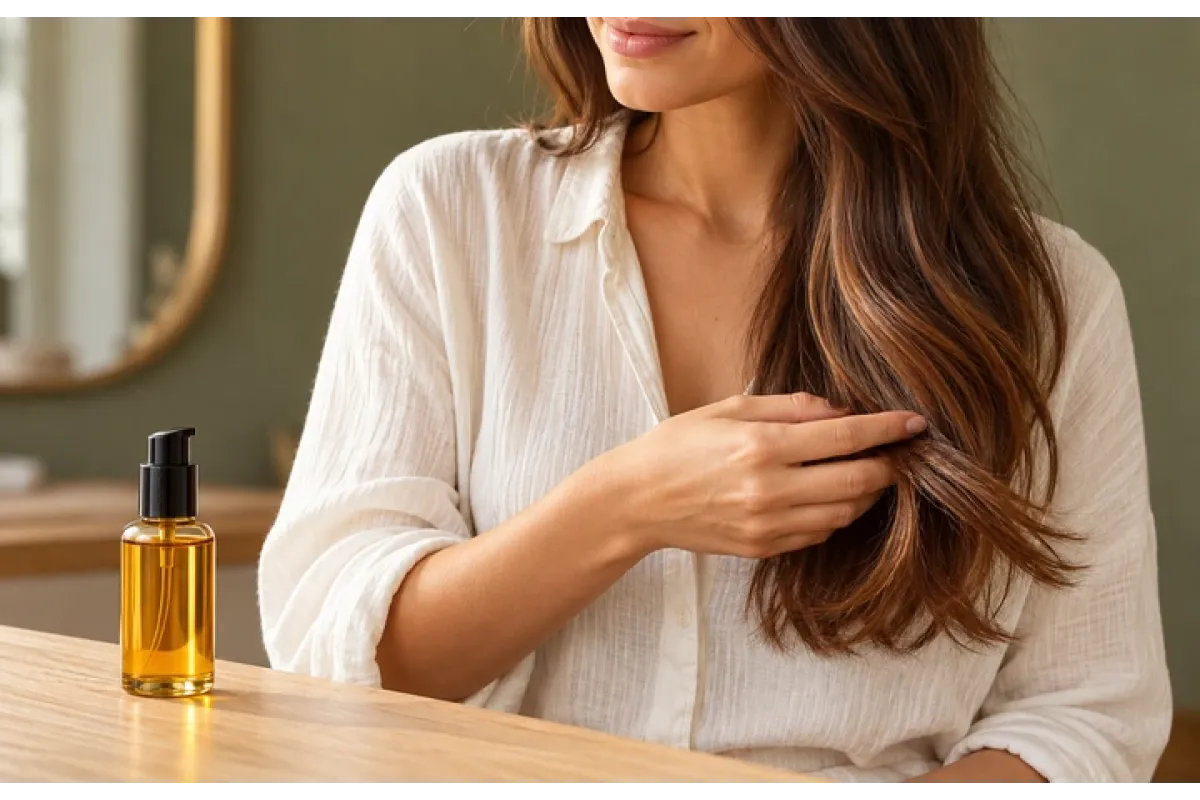
Hair oil is easy to love for its shine, and just as easy to put aside after an unsuccessful first application. The ends look neater, yet the lengths suddenly lose movement and you find yourself wanting to shampoo sooner. Before switching brands, check three things: how much you used, where you put it and when you applied it. The result depends on more than the contents of the bottle. Here is a practical way to get to know an oil, assess its finish on your own hair and give it a clear place in your usual styling routine.
1. Decide what you want to change
The word “oil” appears on different cosmetic formulas. Look specifically for a leave-in hair product if you want something to use before styling or as a finishing touch. A treatment used before shampooing and a scalp product follow different directions. Similar names do not make them interchangeable.
A more polished finish
Look at your lengths in ordinary daylight. Would you like to smooth a few stray hairs, bring out shine or make the ends look more gathered? Choose one main aim. It is easier to judge that result than to expect one bottle to transform every part of your usual hairstyle.
A softer feel after drying
Notice the feel of the strands as well as their reflection in the mirror. If you want a more comfortable glide between your fingers, compare that sensation before and after application. Keep your familiar rinse-out care in place, so you can tell which change made the difference.
Keeping movement
For fine hair, an attractive finish often includes strands that stay separate and move freely. More shine does not necessarily call for more product. A useful question is whether you like the whole hairstyle, including the volume around your face, rather than just the sheen of one treated section.
2. Damp lengths and a dry finish are different moments
Decide when using the product would suit you best. Before drying, it joins your routine after washing; after styling, it becomes a targeted adjustment to selected areas. You do not need to try both methods in the same wash. For a first application, choose one stage permitted by the directions on your product.
| Situation | Where to start | What to assess |
|---|---|---|
| Before drying | Prepare lengths as the product directs | Even distribution once dry |
| After styling | Identify the area that needs finishing | Shine and the shape of the hairstyle |
| Fine hair | A small amount on a limited area | Movement and separation |
| Thick or long hair | Work in manageable sections | Missed areas or overloaded patches |
A drop and a pump are not universal measures: different dispensers release different quantities. Do not automatically transfer the portion you used from an old bottle to a new one. First check the specific directions and how its dispenser works.
3. Distribute oil without overloading one section
- Prepare your hair. Choose damp or dry lengths according to the directions. Separate them from the roots when you are working on an ends-only finish. This makes the application area clearer and avoids starting somewhere you do not want extra sheen.
- Measure a small amount. Dispense into your palms and spread between them if that is the maker's method. Avoid pouring straight onto one strand: a concentrated patch is harder to adjust than adding a little more later.
- Work through the chosen lengths. Begin with the area you actually want to finish. Divide dense hair into manageable sections. Check both the outside surface and the way your hairstyle looks from the side.
- Pause and assess. Finish drying or styling before deciding whether another portion is useful. The aim is a finish you enjoy, rather than a compulsory number of applications or a noticeable coating on every hair.
Repeat familiar movements calmly. If a lot of product remains on your palms, you do not have to transfer all of it to your hair to avoid waste. Adjusting the initial amount next time is a more useful lesson from the trial.
4. Two examples from Wellness Expert
Davines OI Oil Absolute Beautifying Potion. Davines permits use before styling and as a finish, with a smaller starting amount for fine hair. When reading the shop card, consider whether you want one chosen stage or flexibility between methods. Test the option that would be easiest to repeat on an ordinary morning first.
ORIBE Gold Lust Nourishing Hair Oil. Oribe describes application to damp hair and to dry hair after styling. This gives you another option to compare by how it fits your process. Before ordering, check the selected size, ingredients and dispenser; compare in familiar conditions rather than against someone else's styled photograph.
Similar descriptions do not mean identical sensations. If you can try the texture before buying a larger size, also notice the fragrance and how easily you can control a portion. Refer to the current label on the packaging you receive.
5. Three mistakes that make the result harder to judge
- Adding more before the final assessment. Damp lengths do not yet show the finished hairstyle. On a first attempt, complete the chosen stage and look at the result, instead of repeatedly increasing the amount because the shine is not obvious yet.
- Changing the whole routine at once. A new conditioner, mask, cream and oil complicate the comparison. Keep the other stages familiar so it is easier to tell whether you like this particular finish and whether its amount needs adjusting.
- Applying the same amount everywhere. If you care about the ends, starting at the roots is impractical. Work on the target area first. Adding oil to the scalp is not necessary to find out whether you like the look of your lengths.
6. Find your own amount
After the first application, remember the circumstances as well as the quantity: damp or dry hair, which sections you treated and whether you used another leave-in. Change one variable next time. You might keep the amount but distribute it more carefully in sections, or keep the method and reduce the starting portion.
Assess your hair just after styling and later in a normal day. Does it keep the shape you wanted? Do you like touching the lengths? Do you want to tie it back simply because of the finish? These observations are more useful than trying to maximise shine at any cost. If you dislike the result, avoid layering another product over it to “fix” things without knowing what needs changing.
7. Make room within your existing care
The American Academy of Dermatology recommends conditioner after washing. Do not automatically remove that stage when you buy an oil. For a broader fine-hair routine, our guide to volume without weight helps you consider the overall sequence before introducing a finishing product.
Check heat protection separately. The word “oil” does not establish whether a product provides it or how to use it with hot tools. Our guide to products for blow-dryers and straighteners covers that choice. Do not borrow a protection temperature from another range, or turn the heat up simply because the finish looks shiny.
8. A checklist before buying
- Purpose: is this a leave-in for the lengths with the application method you want?
- Amount: can you comfortably control a portion with this dispenser?
- Finish: are shine, softness or neater ends your main aim right now?
- Routine: do you know where it will fit into your styling sequence?
Start with one chosen stage and a small, controlled amount. Well-finished lengths that remain pleasant and mobile in your everyday hairstyle are a useful measure of success.
Mila Serani, Skincare & Beauty Editor at Wellness Expert